Account Account Back to Top Cart Chat Chat Crate and Barrel Crate and Barrel CB2 Crate and kids Crate and kids Crate and kids Crate and kids Crate and Kids Hudson Grace Hudson Grace Menu Search

How to Create a Photo Wall

Over the years, we’ve slowly but surely covered most of the walls in our home with prints, photos from our travels and an assorted collection of found art. While we love tucking framed photos onto our bookcase and atop our end tables, one of our favorite ways to display our memories is with a photo wall. Although there are many ways to curate the look of your photo wall—streamlined versus eclectic—we use the same easy method time and time again. With a few simple tools, you can recreate a photo wall in your home, too! Here’s how.

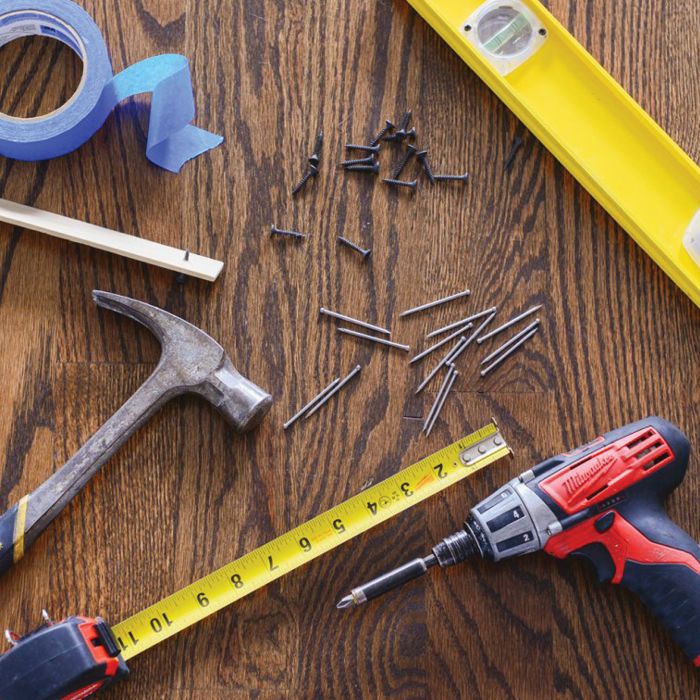
tools needed for photo wall hanging: hammer, ruler, nails, measuring tape, power drill

Tools needed

  • Tape measure
  • Painter’s tape
  • Hammer
  • Screwdriver or drill
  • Finish nails
  • Drywall screws
  • Anchors (optional)
  • Level
  • Paint stir stick


For this example, we created a photo wall that winds up the staircase—something we’ve always wanted to do! There’s something about this look that feels so warm and inviting. We wanted it to feel a little more collected over time, so after selecting and printing a handful of favorite family photos in a range of sizes, we chose an assortment of Matte Brown, Matte Black, Brushed Brass and vintage frames to display them in.
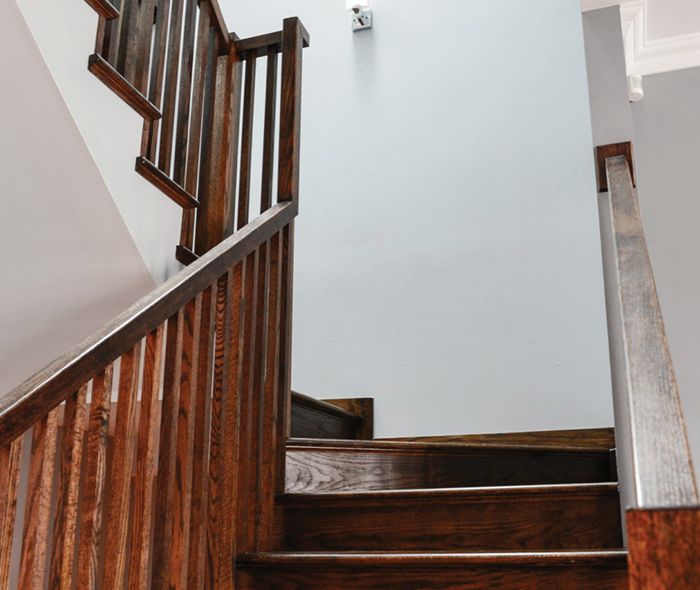
Stairwell.
To start, we measured the width and height of the usable wall space.

We mapped it out using painter’s tape on the floor. (We moved a couch out of the way to make room.) In our scenario, there was a sconce to contend with, so we cut a piece of paper to size and placed it on the floor to mimic the placement on the wall. Once we had our big, blank canvas to work with, we began laying down our framed photos within the painter’s tape. Here’s where you can really have fun with it without the worry of nail holes in the wall! We re-worked the layout until we were happy with the look, even flowing over onto the adjacent stairwell wall.

Photo Wall - Frame Layout
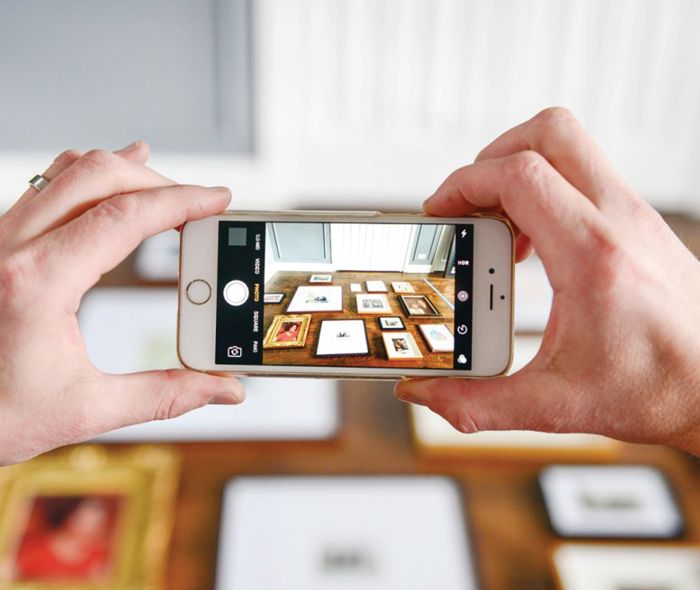
Phone taking a picture of frames design.
With our frames in our desired layout, we took a photo with our phone. This photo will be used to reference the exact placement of the frames as we carry out our design plan onto the wall.

We started with the largest photo, hanging it on the wall with drywall screws. As we worked our way to the other photos, we looked back at the snap on our phone, noticing how far over or down the next frame should hang. For example, does the frame align to the left, right, or center of the frame above? Tip: In most cases, frames can be hung using a drywall screw or finish nail. If your frame is really heavy (i.e., if you struggle to hold it easily in one hand), you’ll want to use an anchor.

The placement of each frame

Perhaps our favorite part of hanging a photo wall is the lack of measuring needed to get photos aligned perfectly. We hung the entire wall by referencing our snapshot and eyeballing the placement of each frame, but sometimes dealing with the hanger on the back of the frame can be tricky. To make this easy as can be, we made a ‘hanging tool’ out of a paint stick and a drywall screw. The frame hangs on the head of the screw, and once we’ve eyeballed where we’d like it on the wall, we gently push into the frame. The tip of the screw from our tool creates a tiny hole, and this is where we know to put the screw or finish nail! Along the way, we use our level to make sure everything is nice and neat.
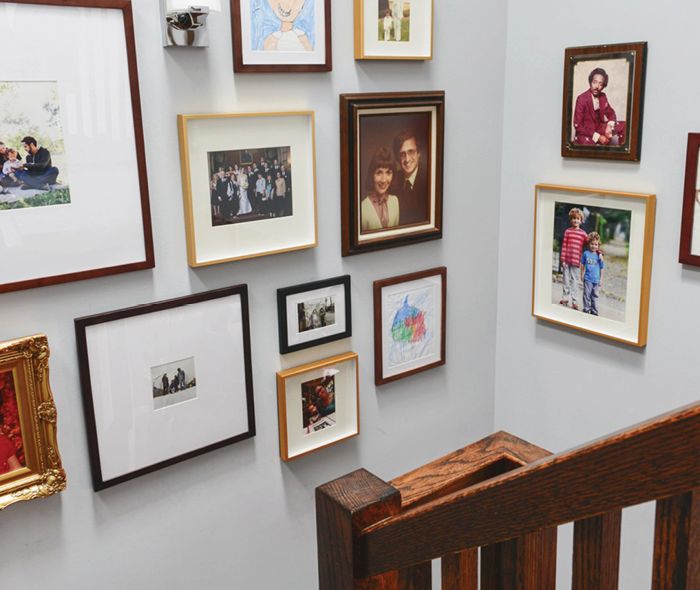
Photos setup on the stairwell wall.
The trick to hanging a photo wall is to allow yourself the few hours it will take to hang every last frame.

In the end, it’s always worth it! Depending on where in your home you start your gallery, you might even have the option to grow your wall as you continue to make memories. A photo wall adds so much life to a blank wall; we couldn’t love them more. We hope these few simple tips and tricks will encourage you to start hanging your favorite photos!
360 Spin App Store Go Previous Next Previous Next Down Previous Next Up Down Left Right Up Submit Bar Code Bar Code Yes Yes Down Left Right Up Close Close Copy Credit Card Crib Curbside Pickup Custom Blue to Teal Grey to Black Off White Orange to Red Purple Tan to Brown Yellow to Green Design Services Crate Design Services Dimensions Edit Edit Email Error Expand Expand Best Sellers Best Sellers Easy Care Easy Care Family Friendly Family Friendly Genuine Leather Genuine Leather Highly Durable Highly Durable Linen Look Linen Look Stain Resistant Stain-Resistant Textured Textured UV Resistant UV Resistant Velvet Velvet Woven in USA Woven in USA Filter Gift Gift Card Gifting Group Gifting Help Home Delivery Layout Column Layout Grid The Design Desk at Crate The Design Desk at Crate The Design Desk at Crate The Design Desk at Crate and Kids Doodlepad Handy Hudson Grace Crate and Barrel - The Wedding Registry Crate and Barrel - The Wedding Registry The Frame Location location Location Minus Move Down Move Up Pause Play Phone Play Play Plus Price Tag Print Begin Quote End Quote Receipt Registry Registry Returns and Exchanges Rotate Counter Clockwise Rotate Clockwise Warning Sectional Sectional Security - Locked Security - Unlocked Share Shipping Show More Start Over Facebook Houzz Instagram Pinterest TikTok Twitter Youtube Success Swatch Text Message Thank You Manager Venmo Venmo Verified Reviews Pause Play Replay Pause Play Replay Hide Show Zoom In Zoom Out Zoom Out