1. Decide on a theme.
It doesn’t have to be super kitschy or strict, but a theme gives you a guideline for the types of dishes and table setting you’ll embrace. It also keeps you from feeling overwhelmed by all the options. Even something as generic as “spring” will help form the menu (radishes, asparagus, lamb, rhubarb, etc.) and the table setting (a bouquet of daffodils, bright white dishes, rolls served in a woven basket, and so on).
2. Plan and breakdown the menu ahead of time.
Write out what you’re going to make, read through the recipes for each dish and make note of the cooking time, prep time, and cooking method. If you realize that you need three things to be in the oven at the same time and your oven only has two racks, you might need to re-think one of the menu options.
3. Check if any of your guests have special diet requirements.
Nothing is more frustrating for the host or the guest than the host spending lots of time and effort making a dish that no one else will be able to enjoy due to a food allergy or diet restriction. Double check that none of your guests have any food allergies before doing your grocery shopping for the supper.

4. Choose dishes that can be prepped the day before.
I like to have a mix of hot and cold dishes so that I can prepare some dishes the day before and some the day of the dinner. Tossing together things like deviled eggs or a salad the day before saves a lot of time, and in the case of the salad, just make sure to wait to add the dressing until right before serving so that it doesn’t get mushy.
5. Make a dessert that doesn’t have to be fresh from the oven.
Things like rice pudding, cake, and tarts can all be prepared the day before and refrigerated overnight. With cakes, pies, and tarts, however, you’ll want to take them out of the fridge about 4 hours before serving to allow them come to room temperature before everyone chows down.
6. Let guests know about the drink situation beforehand.
Folks can be very particular about their beverages, so if you plan on serving only red wine, let your guests know that’s the case and they can BYOB.
7. Make beverages self-serving.
My go-to beverage set up for gatherings is whipping up a big batch of a homemade cocktail the day before the party, storing it in large mason jars in the fridge until about 30 minutes before guests arrive, then emptying the jars into a large drink dispenser with some ice in it and glasses next to it. Guests can then feel free to serve themselves without having to ask you (the host) for pours. The same goes for beer or wine, just leave the bottles out on the counter with some glasses and your guests will get the idea.

8. Make the courses family-style.
Instead of plating each course for everyone, serve on one large serving dish placed in the middle of the dining table. Everyone can serve themselves and pass it on to the next guest. This also looks really beautiful when you have several courses all laid out in the middle of the table in a line, like a big salad bowl filled with greens, a bread basket, and a baking pan with a roast in it. Just make sure to remember the serving utensils, too!
9. Keep the table setting simple, but cohesive.
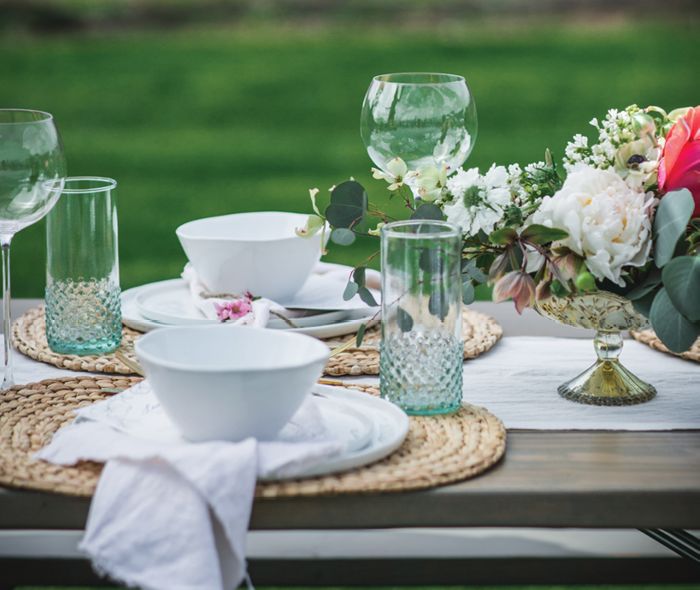
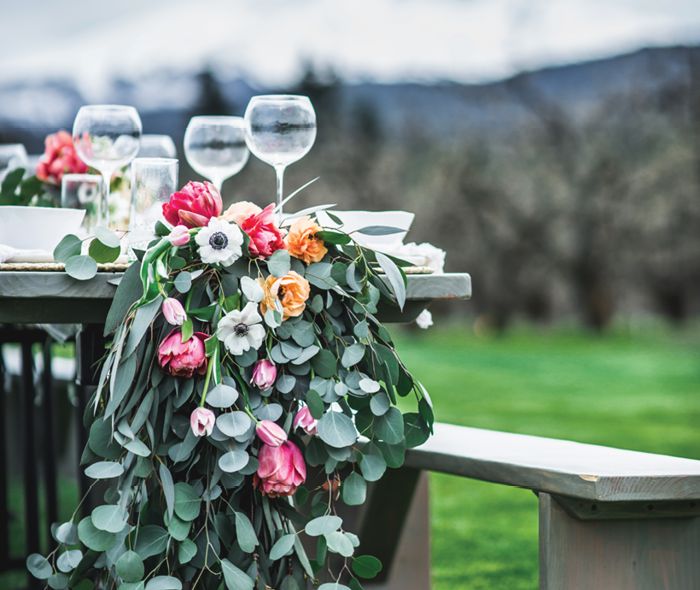
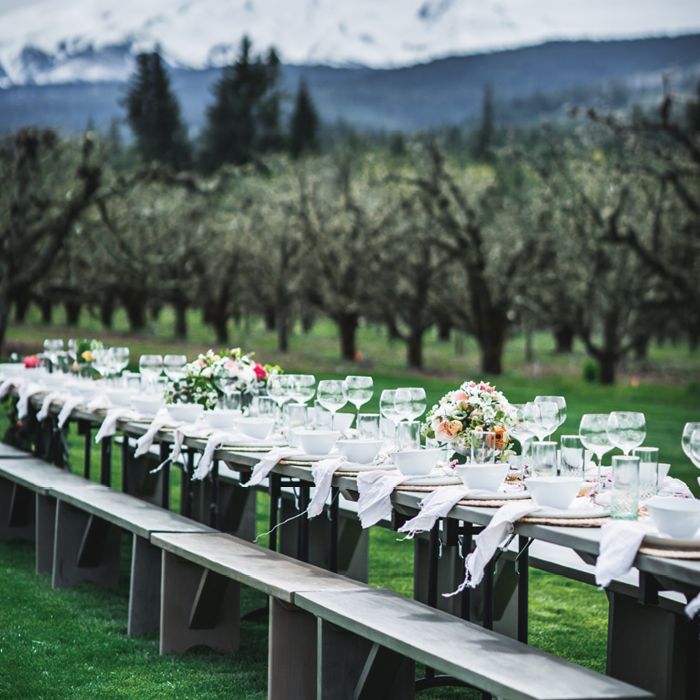
You don’t need a lot of clutter on the table, just a vase or two of seasonal flowers will brighten it up. You want to keep in mind the fact that there will be serving dishes in the center of the table as well. I recommend sticking with one general color palette for the dishes and linens, like tans or blues, that are in line with your theme. Using the same dish design for each guest’s place setting also gives a purposeful and elegant look to the table.
10. Have fun!
You did all the hard work prepping everything beforehand, so now that guests have arrived, you can socialize with them and relax a little bit. Don’t be afraid to ask for help, too, if you need an extra hand wrapping something up in the kitchen. Your guests will be happy to help as long as you seem happy and calm.

Get more ideas from Adventures In Cooking

