Organize the supplies.
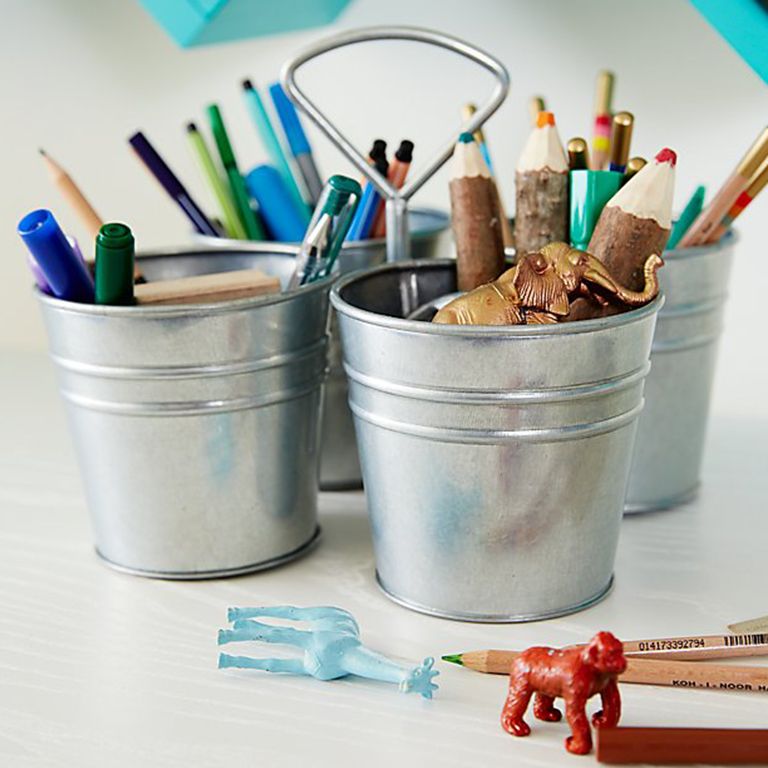
This is the most important step. By creating a designated art space, and keeping the supplies out in the open, kids are much more likely to use them. The problem with keeping supplies out in the open, the kids are much more likely to use them. So, since not every three year old can be trusted to use glitter, glue and paint only on approved construction paper, you have to organize the supplies strategically. Using wall-mounted shelving is your best route for this. Keep the messier supplies that may require supervision on the higher shelves, out of reach from the kids (even if they stand on a chair!). And, keep the crayons, stickers, construction paper, etc close at hand on lower shelves and in caddies on the table.

Add a play table and chair.
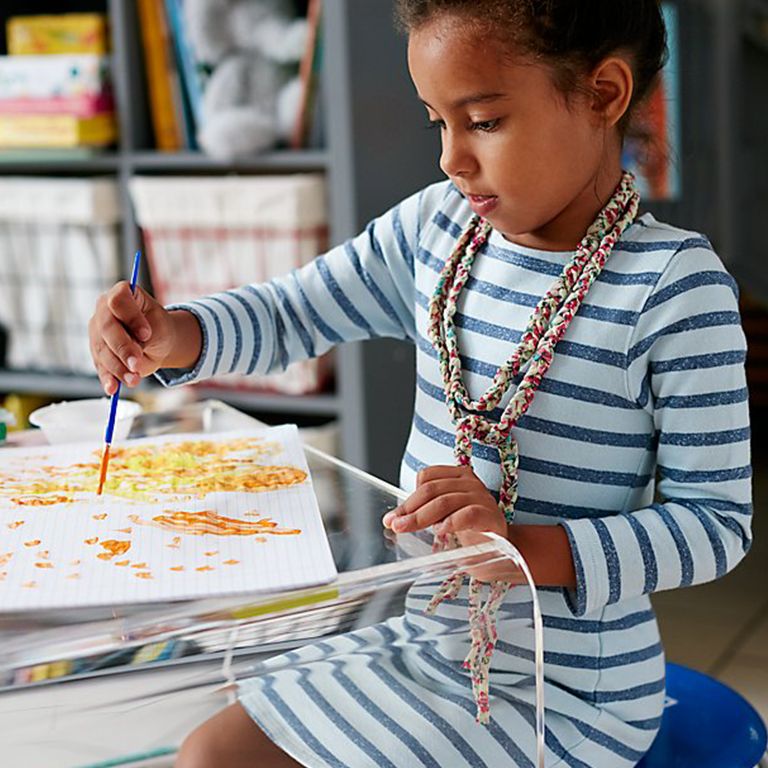
They’ll need a surface to create their art. While the kitchen table may work, it’s not ideal when you have dinner to prepare. So, tuck a small table into the corner or against the wall. Add a chair, or two, if you can fit it. And, they’re all set. A table with a chalkboard surface is a great option, so they can draw right on the table. Heck, it beats drawing on nursery furniture.

Don’t forget an easel or paper roll.
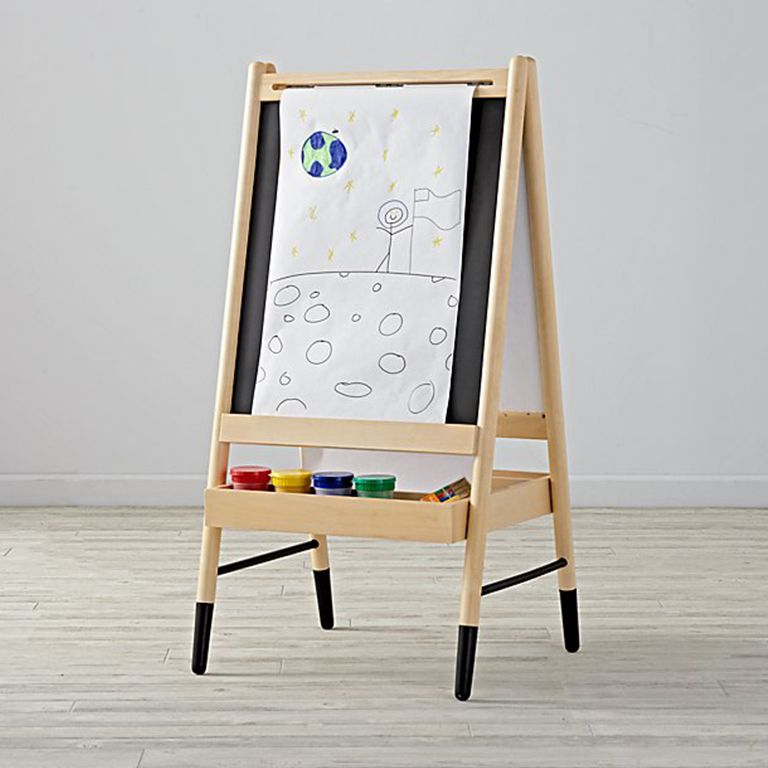
Lastly, think about including an easel. A freestanding version is great if you have the room. If not, a wall-mounted option will work. You may want to cover the wall in chalk decals behind the easel though, just to be sure none of that paint or marker finds its way onto the walls. Decals are easy to clean and easy to replace.
In short, don’t feel like you need to designate an entire room for an art space. Between a nursery and another kid’s room, spare rooms can be a hot commodity. Creating a craft room in a living room or playroom is a great way for you to maximize the space you have, while letting kids maximize the imaginations they have. Share your ideas with us at #CrateKidsStyle.
